

Guides
How to Roll a Joint Like a Pro
Rolling a good joint is a skill, and like any skill it gets better with practice. Here is the basic process broken down into steps that actually hold up.
Start with a grinder, not scissors or your fingers. A consistent, medium-fine grind burns more evenly than uneven chunks, and a grinder also removes stems and seeds that would otherwise disrupt the burn. Avoid grinding it into a fine powder-like dust - that tends to burn too fast and can clog the paper.
If you like a filter (crutch), make one from a small strip of thick paper (business card stock works well) rolled into a small accordion, then coiled into a cylinder. It gives you something sturdy to hold onto and keeps loose flower from being pulled into your mouth.
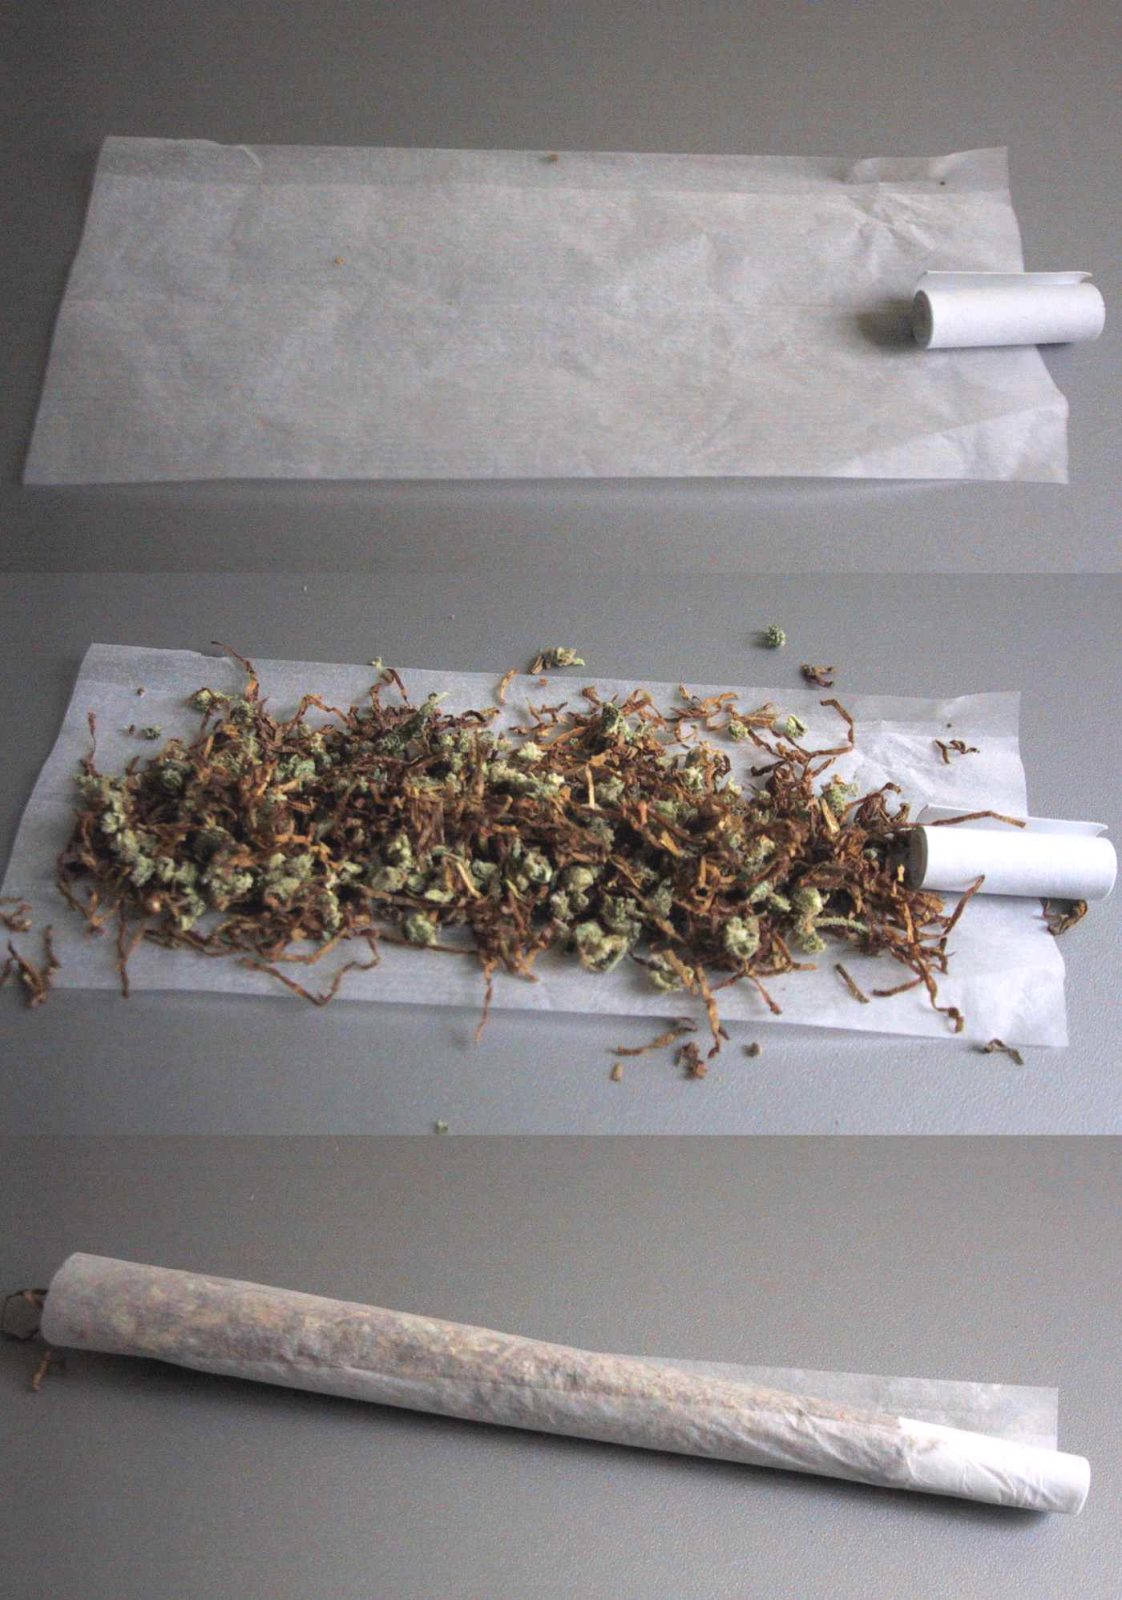
Lay your rolling paper glue-side up, place the filter at one end, and fill the rest evenly along the crease - a little more toward the open end than the filter end helps the finished joint taper naturally. Use your thumbs and forefingers to shape the flower into a loose, even line, then tuck the unglued edge of the paper around the filler and roll it between your fingers to pack it evenly before you start sealing.
Once it feels evenly packed, tuck the non-glue edge under the flower and roll it up, licking the glue strip lightly before sealing. Twist the open end closed to keep everything in, and use a pen or similar thin tool to gently pack down any loose flower at the open end before you light it.
Don't worry if your first few come out uneven - it is a genuinely physical skill, and even experienced rollers have off days.
Start with a grinder, not scissors or your fingers. A consistent, medium-fine grind burns more evenly than uneven chunks, and a grinder also removes stems and seeds that would otherwise disrupt the burn. Avoid grinding it into a fine powder-like dust - that tends to burn too fast and can clog the paper.
If you like a filter (crutch), make one from a small strip of thick paper (business card stock works well) rolled into a small accordion, then coiled into a cylinder. It gives you something sturdy to hold onto and keeps loose flower from being pulled into your mouth.
Lay your rolling paper glue-side up, place the filter at one end, and fill the rest evenly along the crease - a little more toward the open end than the filter end helps the finished joint taper naturally. Use your thumbs and forefingers to shape the flower into a loose, even line, then tuck the unglued edge of the paper around the filler and roll it between your fingers to pack it evenly before you start sealing.
Once it feels evenly packed, tuck the non-glue edge under the flower and roll it up, licking the glue strip lightly before sealing. Twist the open end closed to keep everything in, and use a pen or similar thin tool to gently pack down any loose flower at the open end before you light it.
Don't worry if your first few come out uneven - it is a genuinely physical skill, and even experienced rollers have off days.